How to Use Cricut Design Space for Beginners: A Complete 12-Step Walkthrough
The first time I opened Cricut Design Space, I stared at a blank canvas for about ten minutes before touching anything. The software isn’t difficult once you understand its logic, but nothing on that first screen tells you where to begin. Most beginners end up clicking randomly, cutting something crooked, and blaming the machine.
This walkthrough covers the entire process from account creation to peeling a finished design off the mat. I’ve kept it in the order you’ll actually encounter each step, so you can follow along with Design Space open in another window. By the end you’ll have cut your first real project and understood why each button does what it does.
Step 1: Create Your Cricut Account
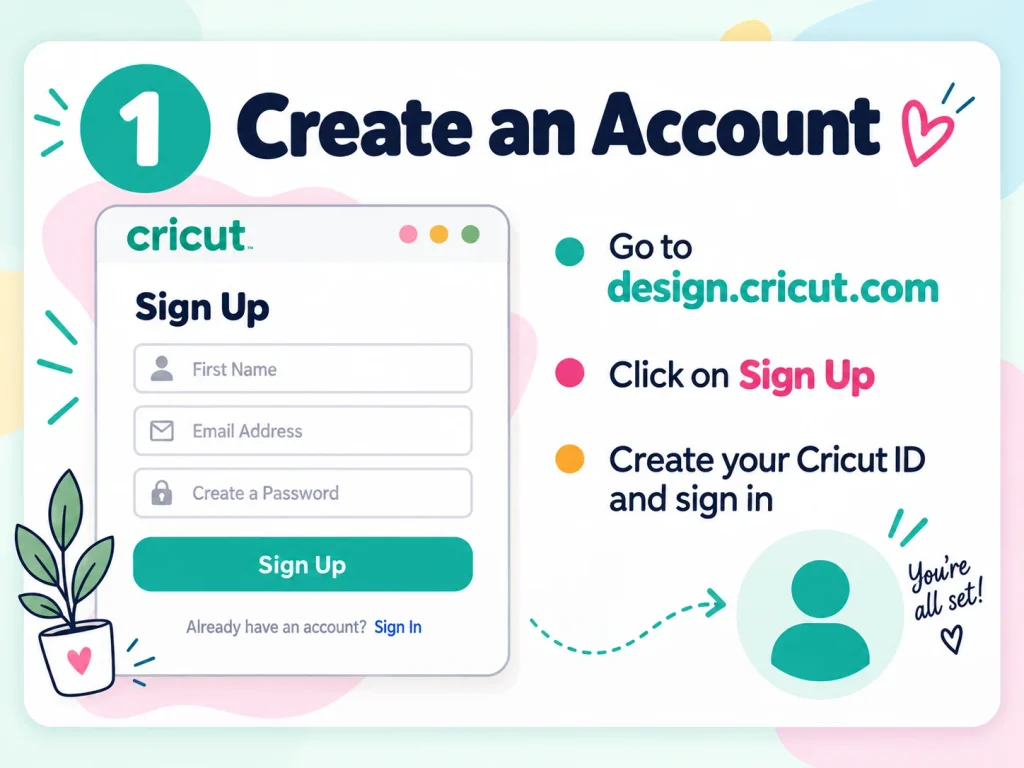
Everything starts at design.cricut.com. Click Sign Up and create your Cricut ID — this is the account that links your machine, your purchased designs, and your saved projects together.
Use an email you actually check. Cricut sends design-file receipts and Access subscription notices there, and if you ever buy a bundle from the Cricut library you’ll want that purchase history tied to an address you still have.
Once you’re signed in, you have full access to Design Space and whatever free content comes with your account. No machine needs to be connected yet — you can design for weeks before you ever plug anything in.
Step 2: Start a New Project
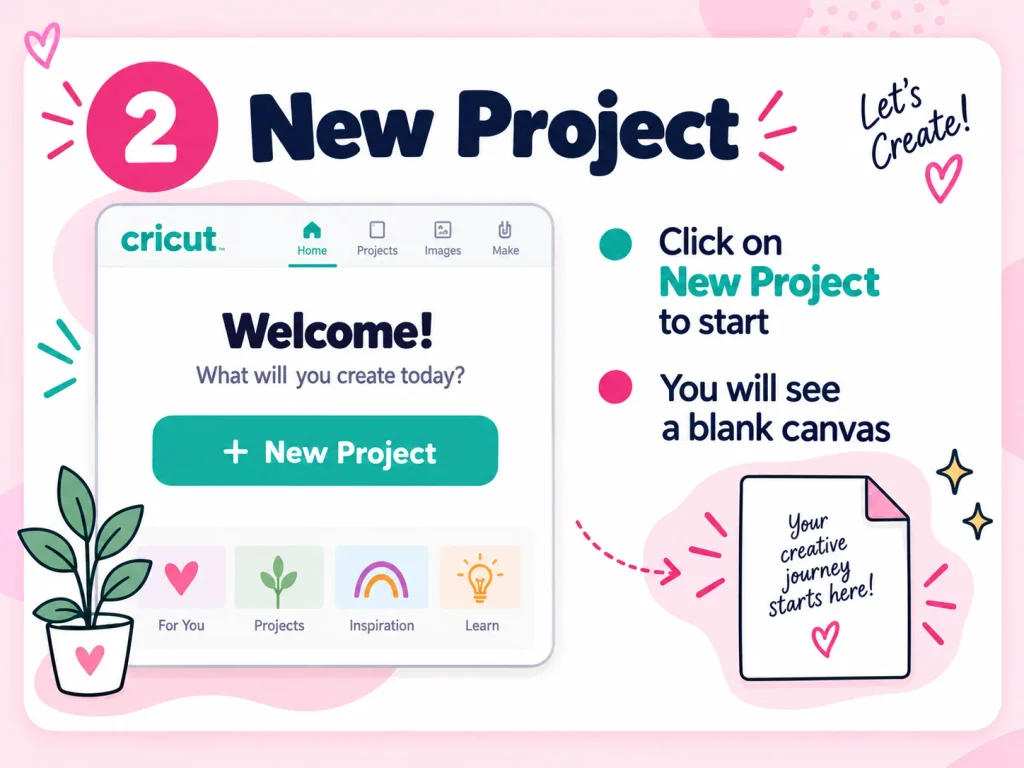
From the Design Space home screen, find the New Project button. Click it, and a blank canvas opens.
That empty white grid is where every project begins. It represents your working area, not your material — you’ll set the material later. A lot of beginners assume the canvas dimensions equal their vinyl sheet, which leads to confusion when the mat preview looks different. Think of the canvas as a design space (hence the name) and the mat preview as the physical reality check that comes later.
Step 3: Get Familiar With the Canvas
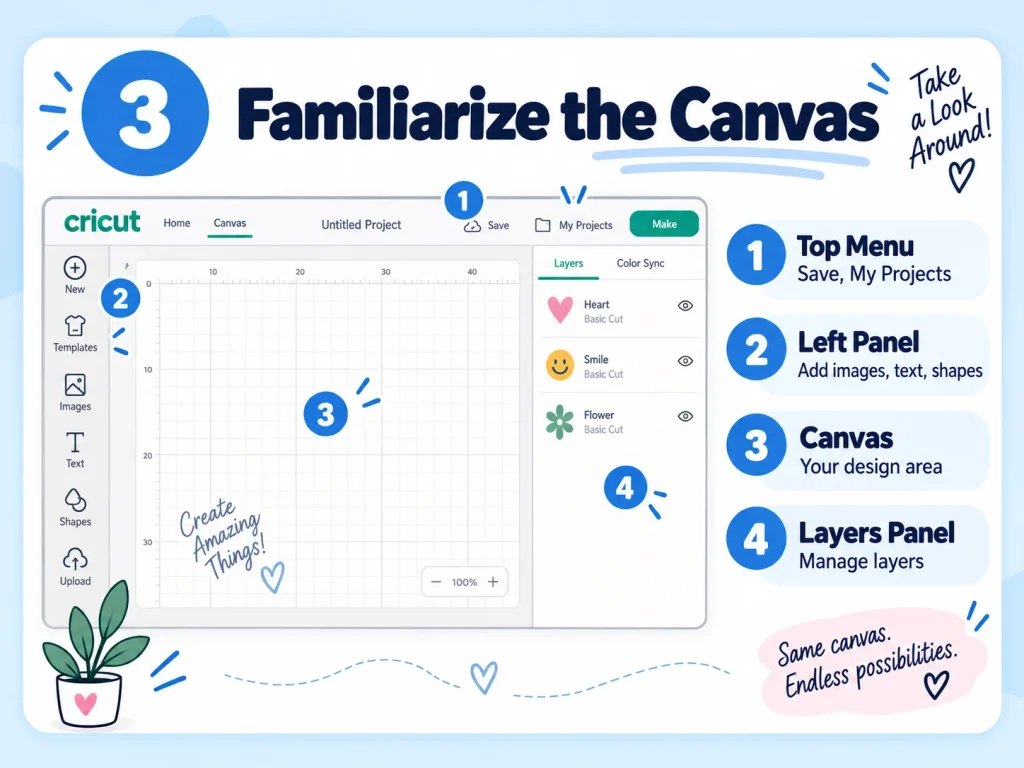
Before adding anything, take thirty seconds to learn the four zones you’ll use constantly.
Top Menu. Saving, opening projects, and the core project-level actions live up here, along with access to additional tools. This is where you’ll hit Save — and you should hit it often.
Left Panel. Your source of everything: images, text, shapes, templates, and your own uploaded files. If you want to add something to the canvas, it comes from here.
Canvas. The main working area. You place elements here, resize them, move them, build your composition, and prepare the design for cutting.
Layers Panel. On the right. Every element you add appears here as a separate layer. You’ll use this panel to reorder elements, hide them, duplicate them, and delete them.
These four areas cover about ninety percent of what you’ll do. The rest is refinement.
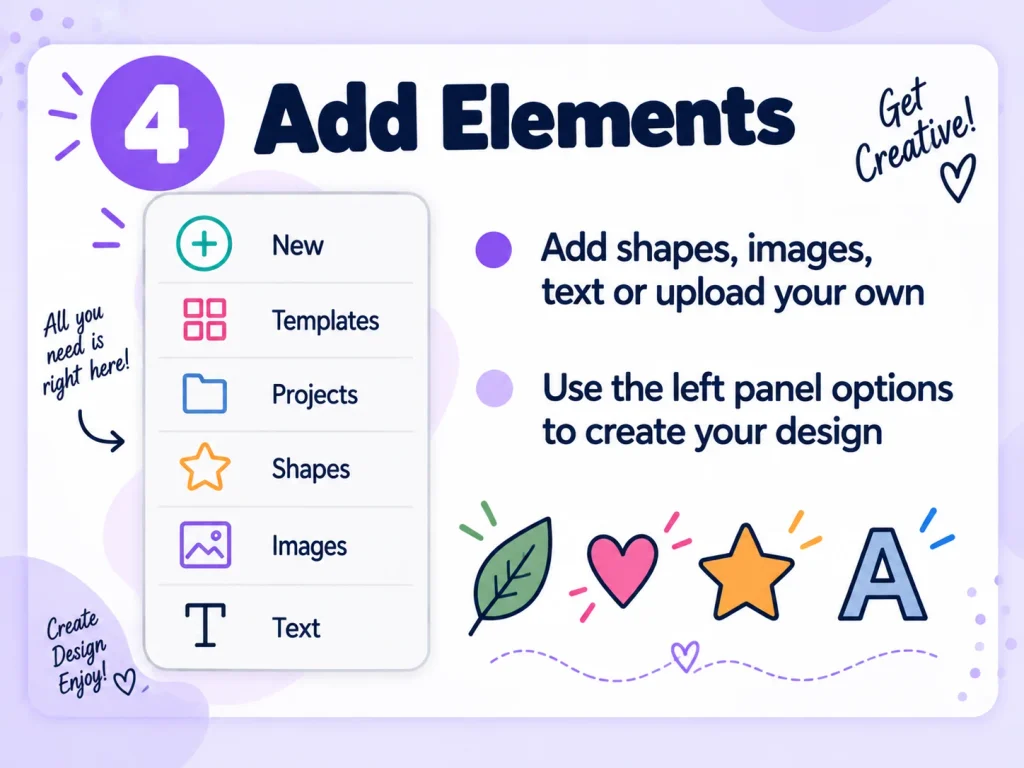
Step 4: Add Elements to Your Design
Everything you add comes from the Left Panel:
- New — starts your working session
- Templates — pre-made layouts if you want a structural starting point
- Projects — ready-made projects you can open and modify
- Shapes — circles, squares, stars, and other geometry
- Images — Cricut’s image library
- Text — any typed text, using installed or Cricut fonts
- Upload — your own SVG, DXF, PNG, or JPG files
If you’re working with files from outside Cricut’s library — the kind of cut-ready SVG bundles I usually work with — Upload is the button you’ll live in. Free SVG Cut Files
For a first project, keep it simple. Add a shape, add a piece of text, and see how they land on the canvas. A leaf, a heart, a star, and a letter is plenty to learn the mechanics.
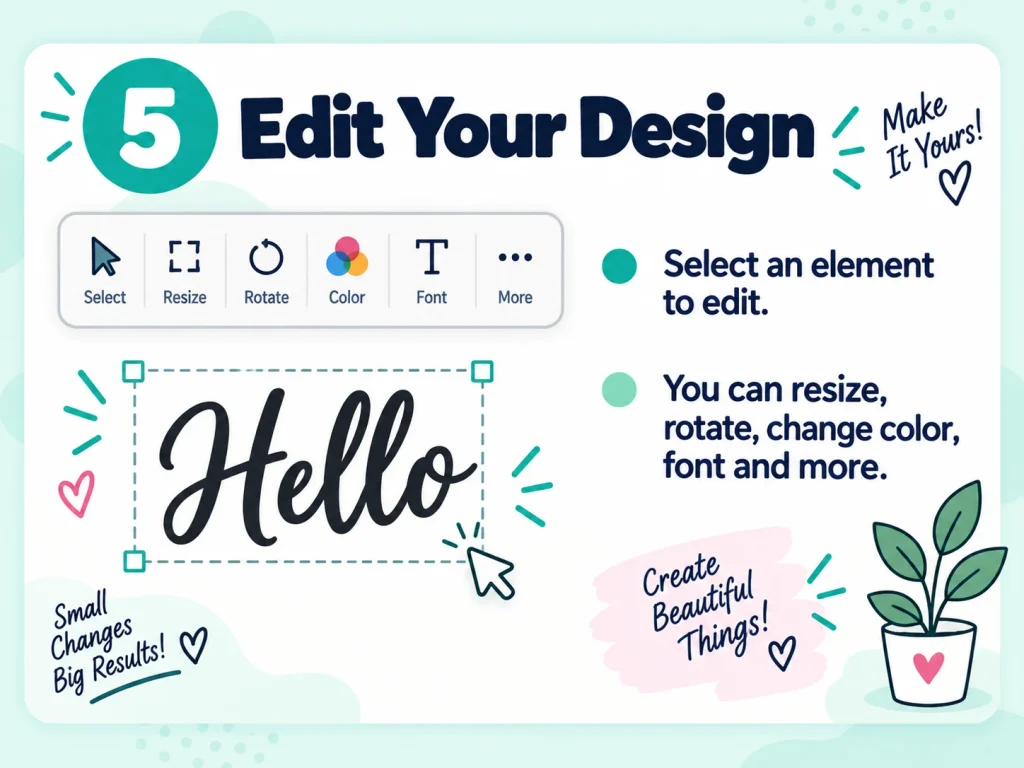
Step 5: Edit Your Design
Click any element on the canvas and an edit toolbar appears above it.
From there you can resize by dragging a corner handle (drag the corner, not the side, to keep proportions), reposition by dragging the element itself, rotate using the rotation handle, and change color.
Text has its own extra controls: font, size, style, letter spacing, and line spacing. One thing worth knowing early — if you type text and it looks like a set of disconnected letters rather than a single word, you’ve probably picked a font where letters cut individually. Adjusting letter spacing so the letters slightly overlap turns a fragile design into one that survives weeding.
Size your design before you get precious about placement. Resizing after you’ve arranged everything means redoing the arrangement.
Step 6: Work With the Layers Panel
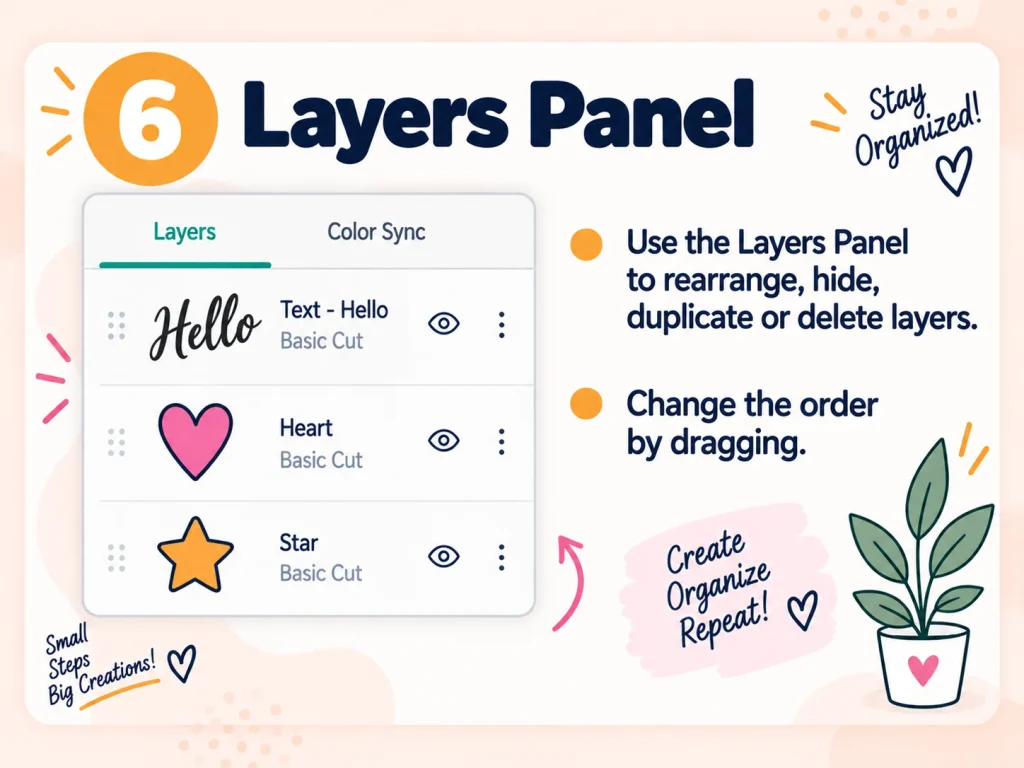
The Layers Panel is where beginners lose time without realizing it. Every element you’ve added sits here as its own layer — text, heart, star, each one separate.
From this panel you can select a specific layer, move it above or below others, change the stacking order, hide a layer temporarily, duplicate it, or delete it.
Stacking order matters more than it seems. The order determines which elements sit on top of which, and for layered vinyl projects that order is literally the order you’ll apply your pieces in. Getting it right in Design Space saves you from reconstructing the logic later with a pile of cut vinyl on your desk.
Step 7: Attach, Group, and Align
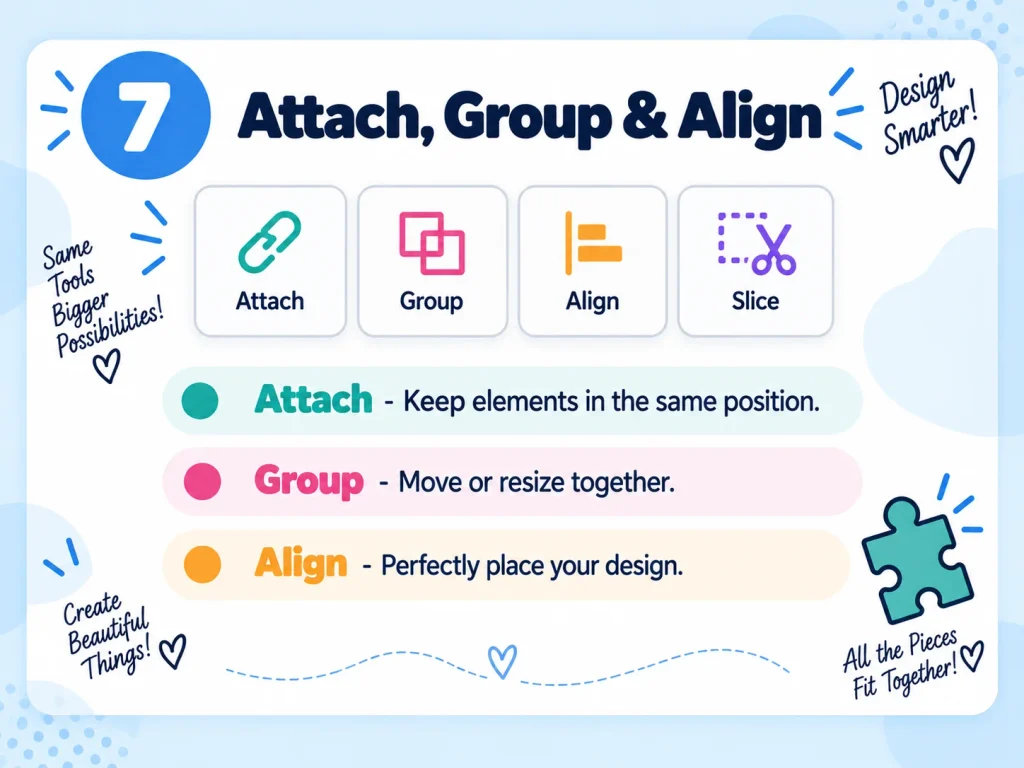
These three functions are the ones beginners skip and then wonder why their project cut wrong. They do very different things.
Attach — keeps elements in the same position. Select the elements, click Attach, and Cricut treats their relative placement as fixed. Without this, Design Space will happily rearrange your carefully positioned elements on the mat to save material, and your “Hello” with a heart above the i becomes a heart somewhere in the corner.
Group — moves or resizes elements together. Select multiple elements, click Group, and you can now drag or scale them as a unit. Group affects your editing convenience; it does not control cut layout. That distinction trips up almost everyone at first.
Align — places elements precisely relative to each other. Center them, align to edges, distribute them evenly along a line. This is how you get a design that looks intentional rather than eyeballed.
Rule of thumb: Group while you design, Attach before you cut.
Step 8: Hit Make It
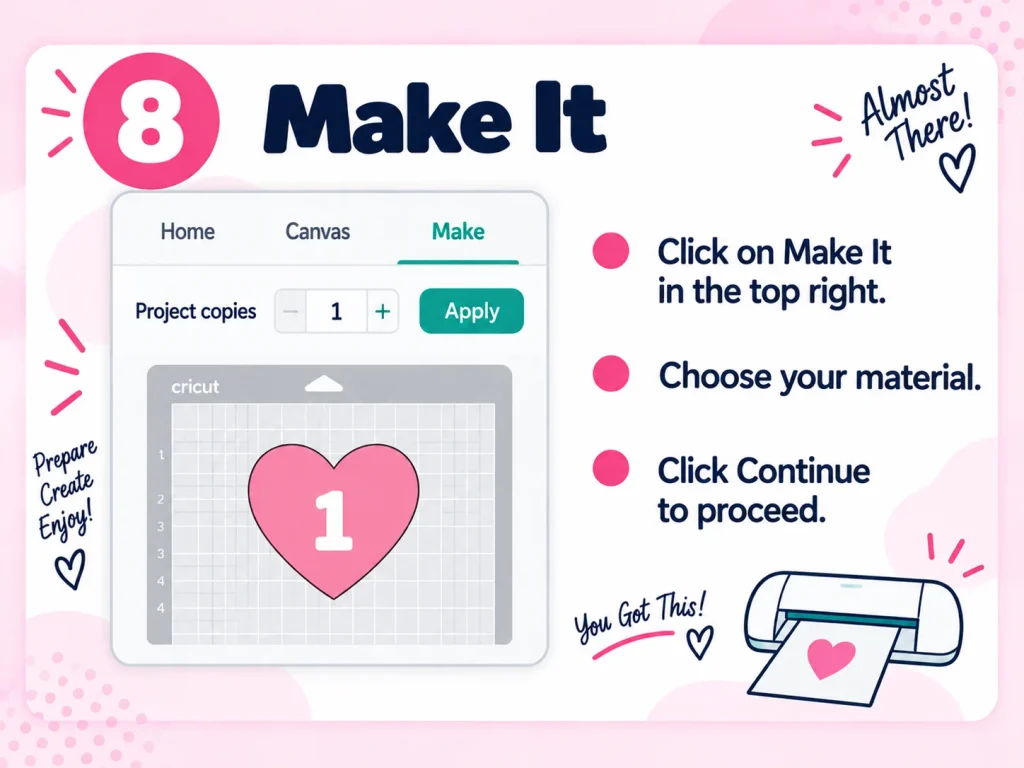
When the design is finished, click Make It in the top right.
Design Space shifts into preparation mode and shows you how elements will be laid out on the mat. This preview is your last chance to catch problems — elements running off the mat edge, pieces you forgot to attach, layers in the wrong color group.
If you want more than one copy, set the number in Project copies and click Apply. Check the mat layout again afterward, since more copies means a different arrangement.
Then select your material and click Continue. Material selection controls blade pressure and cut depth, so choosing “cardstock” when you’re cutting vinyl will cut straight through your backing sheet.
Step 9: Prepare Your Material and Cut
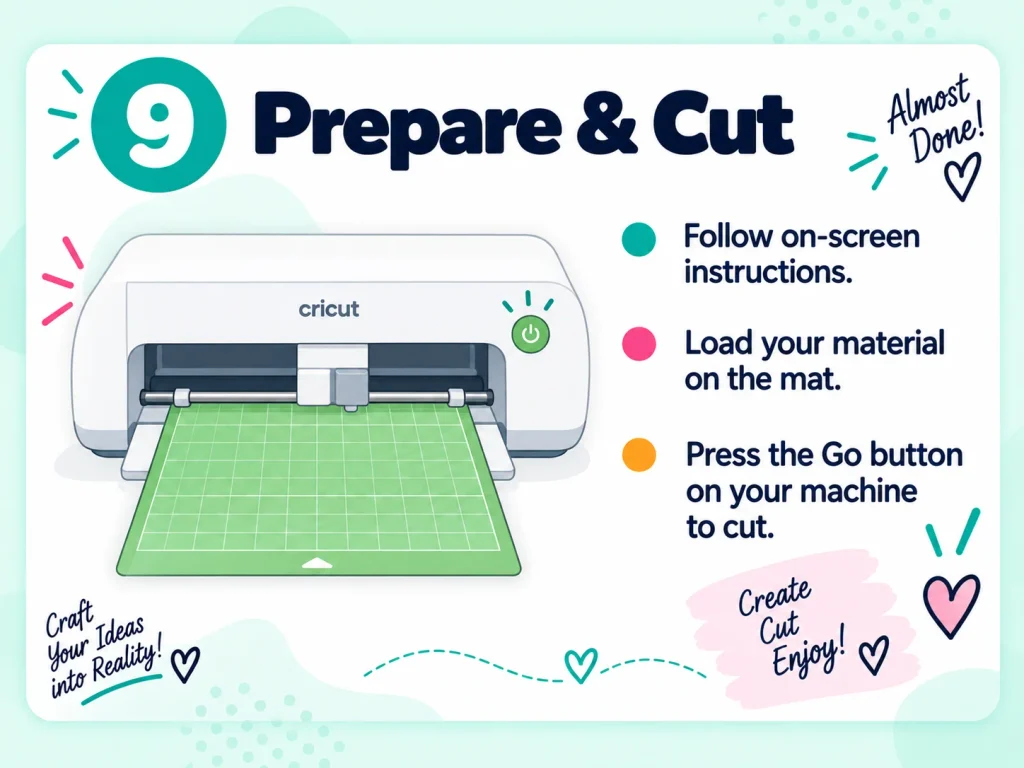
Take the material you selected and place it on the Cricut cutting mat. Press it down properly — a lifted corner is the single most common cause of a shifted cut.
Load the mat into the machine, following the on-screen prompts. Verify that the material setting on the machine matches what you chose in Design Space, then press Go.
The machine cuts. Don’t lift the mat mid-job, and don’t nudge the machine — both will throw off registration on multi-pass cuts.
Step 10: Weed Your Design
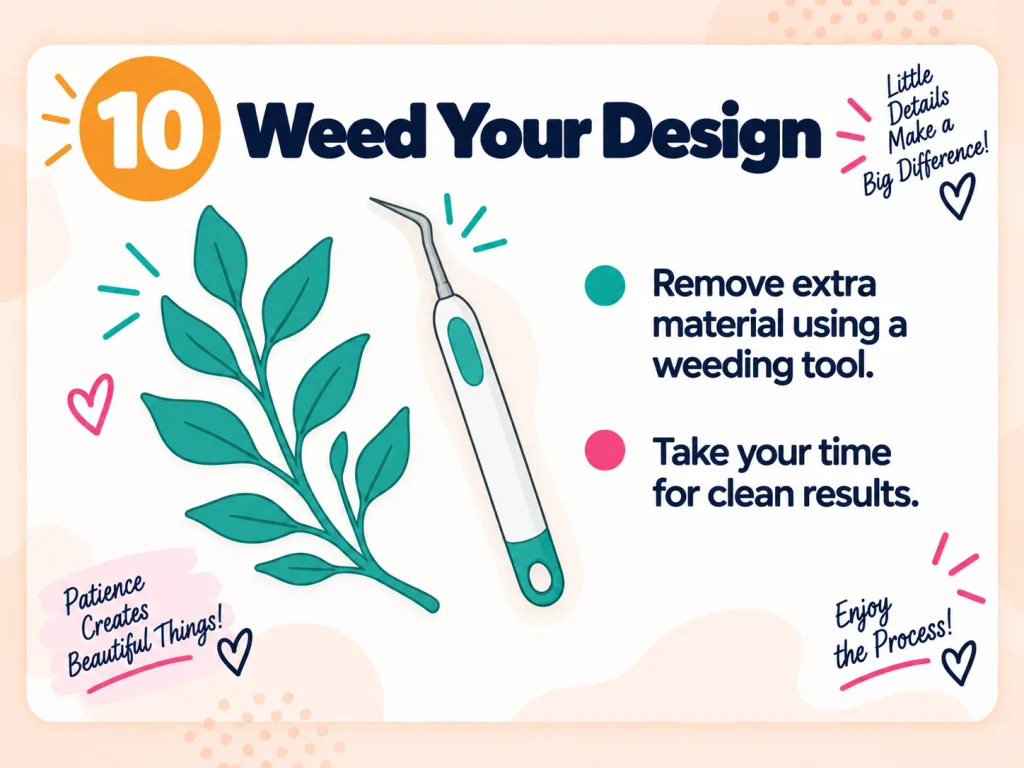
Weeding is removing the material you don’t want. It’s the step that separates a clean design from a ragged one.
Take the cut material off the mat by rolling the mat away from the material rather than pulling the material up — this prevents curling. Then use a weeding tool to lift away the negative pieces: the insides of letters, the background around your shapes, the small interior cutouts.
Work slowly on small details. Letter counters (the holes in a, e, o, and so on) are the pieces most often torn out by accident. Good lighting genuinely helps here — a weeding mat or a lightbox makes fine cuts visible that you’d otherwise miss.
Step 11: Apply Your Design
Now the design goes onto its final surface.
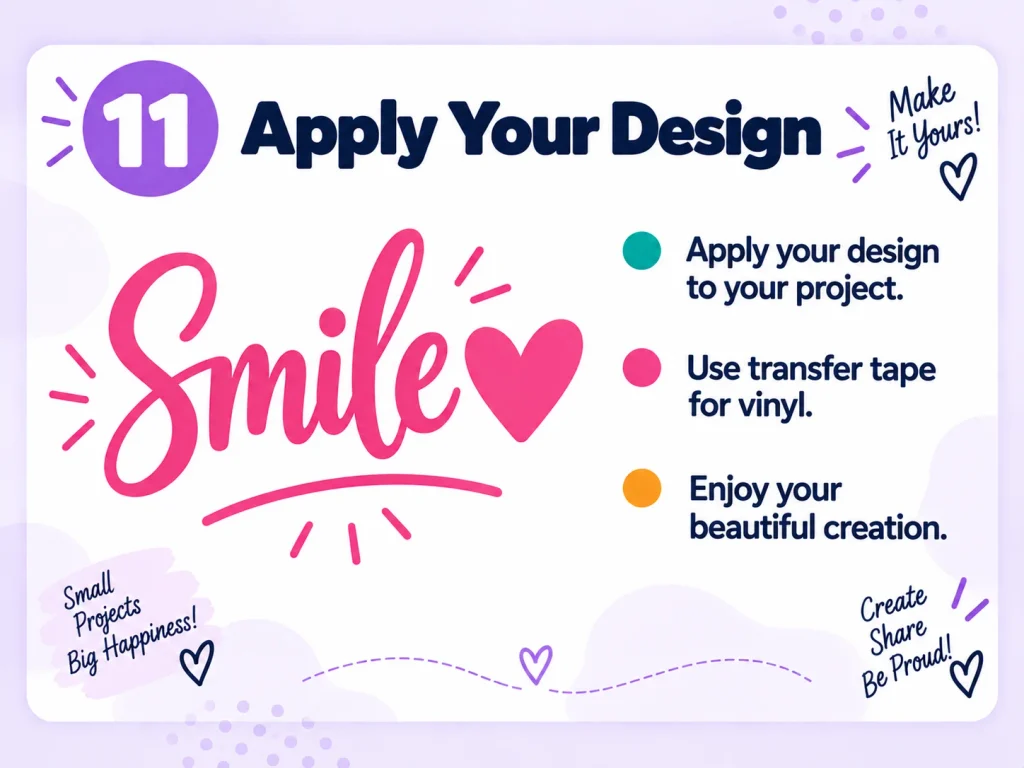
Prepare the item — clean it, make sure it’s dry and dust-free. Position your cut piece where you want it. For vinyl, apply transfer tape over the weeded design, lift the design off its backing, and place it onto the surface.
Press firmly across the whole design, then peel the transfer tape back at a low angle rather than straight up. Low-angle peeling lets the vinyl release from the tape instead of lifting with it. Check that every element has adhered before you consider it done.
For iron-on (HTV), skip the transfer tape — the carrier sheet does that job — and press with heat according to your material’s settings.
Step 12: Save Your Project and Keep Exploring
Save the project with a name you’ll recognize in three months. “Untitled Project 14” helps nobody.
From there, the learning curve is just repetition. Browse templates to see how other people structure designs. Look through the image library. Experiment with fonts. Start new projects that are slightly harder than the last one.
The single biggest factor in getting good at Design Space is project count. Every project teaches you something the tutorials can’t — usually by going slightly wrong in an instructive way.
Beginner Tips Worth Following
Always do a test cut. Cut a small section on scrap material before committing a full sheet. It takes two minutes and saves entire projects.
Mirror your image for iron-on (HTV). Turn on Mirror before cutting heat transfer vinyl, or your design will be reversed after application. This one catches nearly everyone once.
Use quality materials. Cheap vinyl tears during weeding, cheap cardstock frays at the edges, and neither is worth the money you saved. Material quality shows up directly in the finished result.
Save often. Design Space can lose unsaved work, and rebuilding a complex layout from memory is miserable.
Useful Keyboard Shortcuts
| Shortcut | Action |
|---|---|
| Ctrl + C | Copy |
| Ctrl + V | Paste |
| Ctrl + D | Duplicate |
| Ctrl + Z | Undo |
| Ctrl + Shift + Z | Redo |
| Delete | Delete selected element |
Ctrl + D is the one I use most — duplicating a sized, positioned element beats recreating it every time.
Popular Materials for Cricut Projects
Vinyl — stickers, lettering, decals, and decorative work on hard surfaces.
Iron-On (HTV) — heat transfer vinyl for applying designs to fabric.
Cardstock — cards, paper decor, boxes, and structural paper craft.
Sticker Paper — self-adhesive sheets for printable and cut stickers.
Infusible Ink — heat-transferred designs that bond into compatible blanks rather than sitting on top.
Fabric — textile projects and appliqué work.
Each material has its own setting in Design Space, and using the right one matters more than any other single technical choice you’ll make.
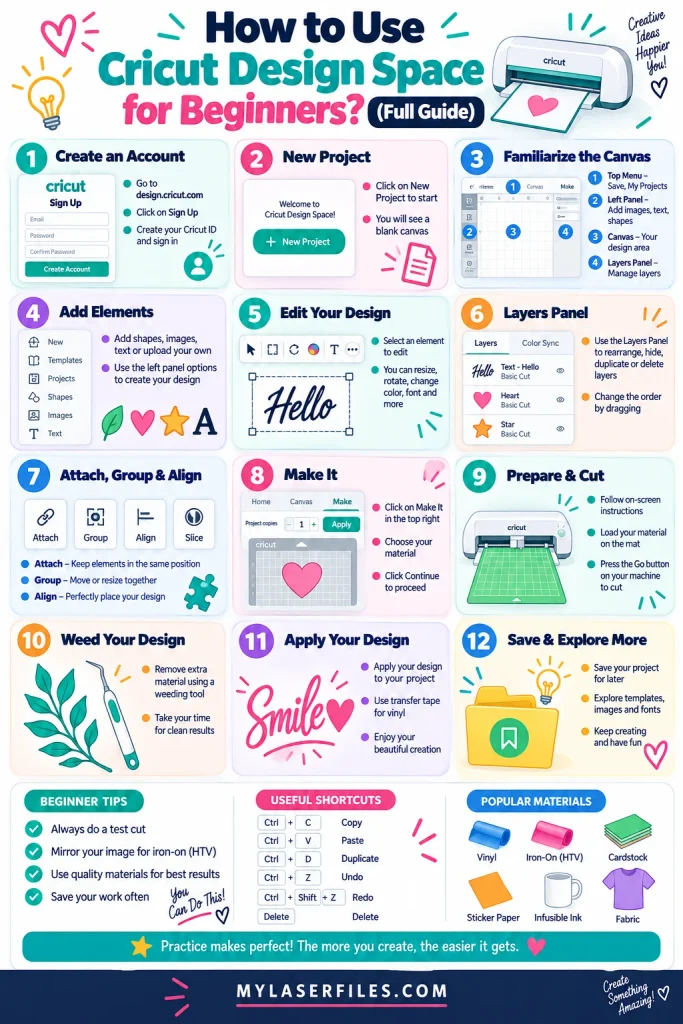
The Full Sequence at a Glance
- Create an account
- Start a new project
- Get familiar with the canvas
- Add elements
- Edit your design
- Work with layers
- Attach, group, and align
- Hit Make It
- Prepare material and cut
- Weed your design
- Apply your design
- Save and keep exploring
Final Thoughts
Design Space rewards patience early and speed later. The first three or four projects feel slow because you’re learning where things live. After that, the interface disappears and you’re just making things.
If you want cut-ready files to practice on rather than designing from scratch, starting with well-built SVG bundles removes a whole category of beginner frustration — you learn the machine without simultaneously learning design – SVG Bundles for Beginners.